> For the complete documentation index, see [llms.txt](https://docs.nimbalyst.com/llms.txt). Markdown versions of documentation pages are available by appending `.md` to page URLs; this page is available as [Markdown](https://docs.nimbalyst.com/setup-nimbalyst/ai-provider-setup-and-notifications.md).

# AI Provider Setup and Notifications

Connect Claude, Codex, Copilot, and other AI providers in Nimbalyst, add keys or subscriptions, and set up session completion notifications.

Nimbalyst works with the coding agents and AI subscriptions you already have. This page covers which providers are supported, how to connect each one under **Settings > Application**, and how to get notified when a session finishes.

### Supported AI Providers

The following coding agents are currently supported:

* Claude Agent
* OpenAI Codex
* Claude Code CLI (opt-in)
* OpenCode (Alpha)
* GitHub Copilot (Alpha)
* Grok Build (Alpha)
* Cursor Agent (Alpha)
* Gemini through Antigravity (Alpha)

Alpha providers are toggled on individually from their own settings panels. See [Alpha Features](/setup-nimbalyst/alpha-features.md).

Models are discovered dynamically from each provider, so current Claude and Codex generations (for example Claude Fable 5.1 and GPT-6 Astra) appear in the model picker as providers ship them.

Nimbalyst works with the agents you already pay for. See [Claude Code and Codex subscriptions](https://nimbalyst.com/claude-code-codex-subscriptions/) for how existing plans are used.

You can also configure Nimbalyst to access AI models directly; see [Integrate other AI models](#integrate-other-ai-models-with-nimbalyst-optional) below.

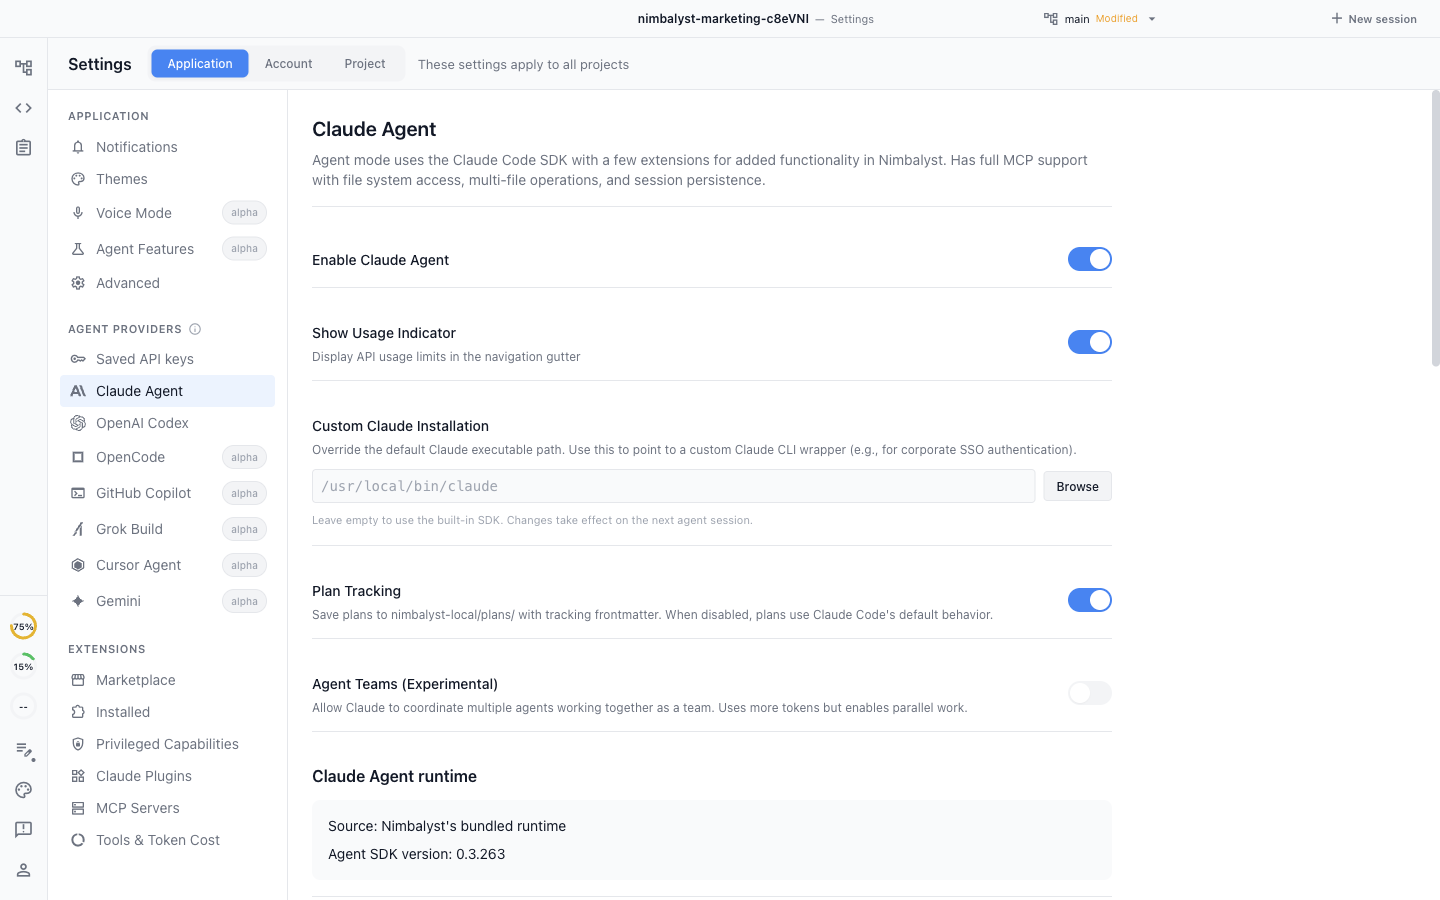
<figure><img src="https://562749618-files.gitbook.io/~/files/v0/b/gitbook-x-prod.appspot.com/o/spaces%2FiVUeHZHlFlZrZt02syRC%2Fuploads%2Fgit-blob-ac8887ab7b6a64356819625db804833002e94f48%2Fdocs-ai-providers.png?alt=media" alt="Nimbalyst Application Settings with Claude Agent selected and the list of available agent providers in the sidebar"><figcaption><p>AI Providers in Application Settings on macOS. Select a provider in the sidebar to enable it, authenticate, and configure its behavior.</p></figcaption></figure>

### OpenAI Codex

OpenAI Codex is enabled by default for new Nimbalyst installations. Existing provider choices are preserved when you upgrade.

Open **Settings > Application > OpenAI Codex** to sign in, review the discovered models, or provide an API key override. By default, Codex uses the signed-in Codex or ChatGPT subscription.

Codex sessions support the same core Nimbalyst workflow as Claude Agent:

* **Inline edit cards**: Codex `file_change` tool calls render as red/green edit cards in the transcript, matching how Claude's Edit tool already renders.
* **Slash command autocomplete**: Codex slash commands surface in the same unified `/` picker as Claude Code commands.
* **Cross-agent skills and commands**: Skills and commands written for one agent run in the other, so workflow discovery is unified across providers.
* **Reasoning blocks**: Codex reasoning items map into transcript thinking blocks.
* **Worktree isolation**: sessions started in a worktree run inside that worktree and keep their edits on its branch.

### Claude Agent

Claude Agent is Nimbalyst's integrated Claude coding agent. Open **Settings > Application > Claude Agent** to authenticate, choose visible models, and configure its behavior.

Use your Claude subscription login or an Anthropic API key that you explicitly add in Nimbalyst. Nimbalyst does not import API keys from environment variables.

Claude Enterprise SSO is supported when your organization provides it.

#### Claude Code CLI

The raw Claude Code CLI provider is opt-in for new installations. Turn it on from the Claude Agent settings when you specifically want the native CLI terminal experience. Upgrading does not disable it if you already selected it.

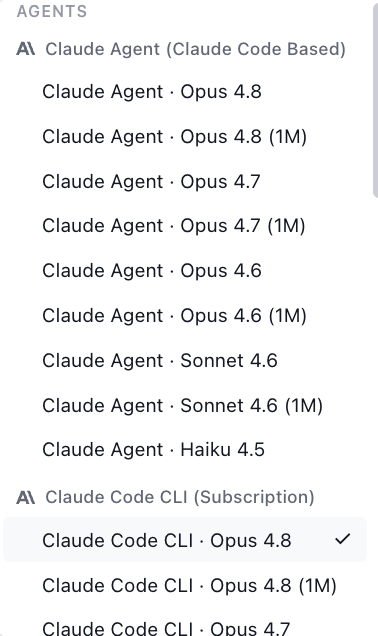
When enabled, Claude models appear under separate Claude Agent and Claude Code CLI groups in the model picker.

<figure><img src="https://562749618-files.gitbook.io/~/files/v0/b/gitbook-x-prod.appspot.com/o/spaces%2FiVUeHZHlFlZrZt02syRC%2Fuploads%2Fgit-blob-155361c48db88e38b613c1a691c22f0a821778c6%2FClaude%20model%20picker.png?alt=media" alt="Nimbalyst model picker showing the Claude Agent and Claude Code CLI groups" width="189"><figcaption><p>The model picker with Claude models grouped under Claude Agent and Claude Code CLI.</p></figcaption></figure>

#### Effort Level

Claude Agent and Claude Code CLI support an effort selector. Higher levels let the model spend more reasoning effort on a turn at the cost of additional latency and usage.

Pick from five levels:

* **Low**
* **Medium**
* **High**
* **xHigh**
* **Max**

The selector is part of the session controls, and it only offers the levels the selected model accepts.

#### Extended Thinking

Supported Claude Agent models also show **Extended: On** and **Extended: Off**. Extended thinking stays on by default. Turn it off per session when lower latency and token use matter more than additional reasoning.

Press **Cmd/Ctrl+Shift+M** in the chat input to open the model picker from the keyboard. Search by model name or ID, then use the arrow keys and Enter to select a model.

### OpenCode (Alpha)

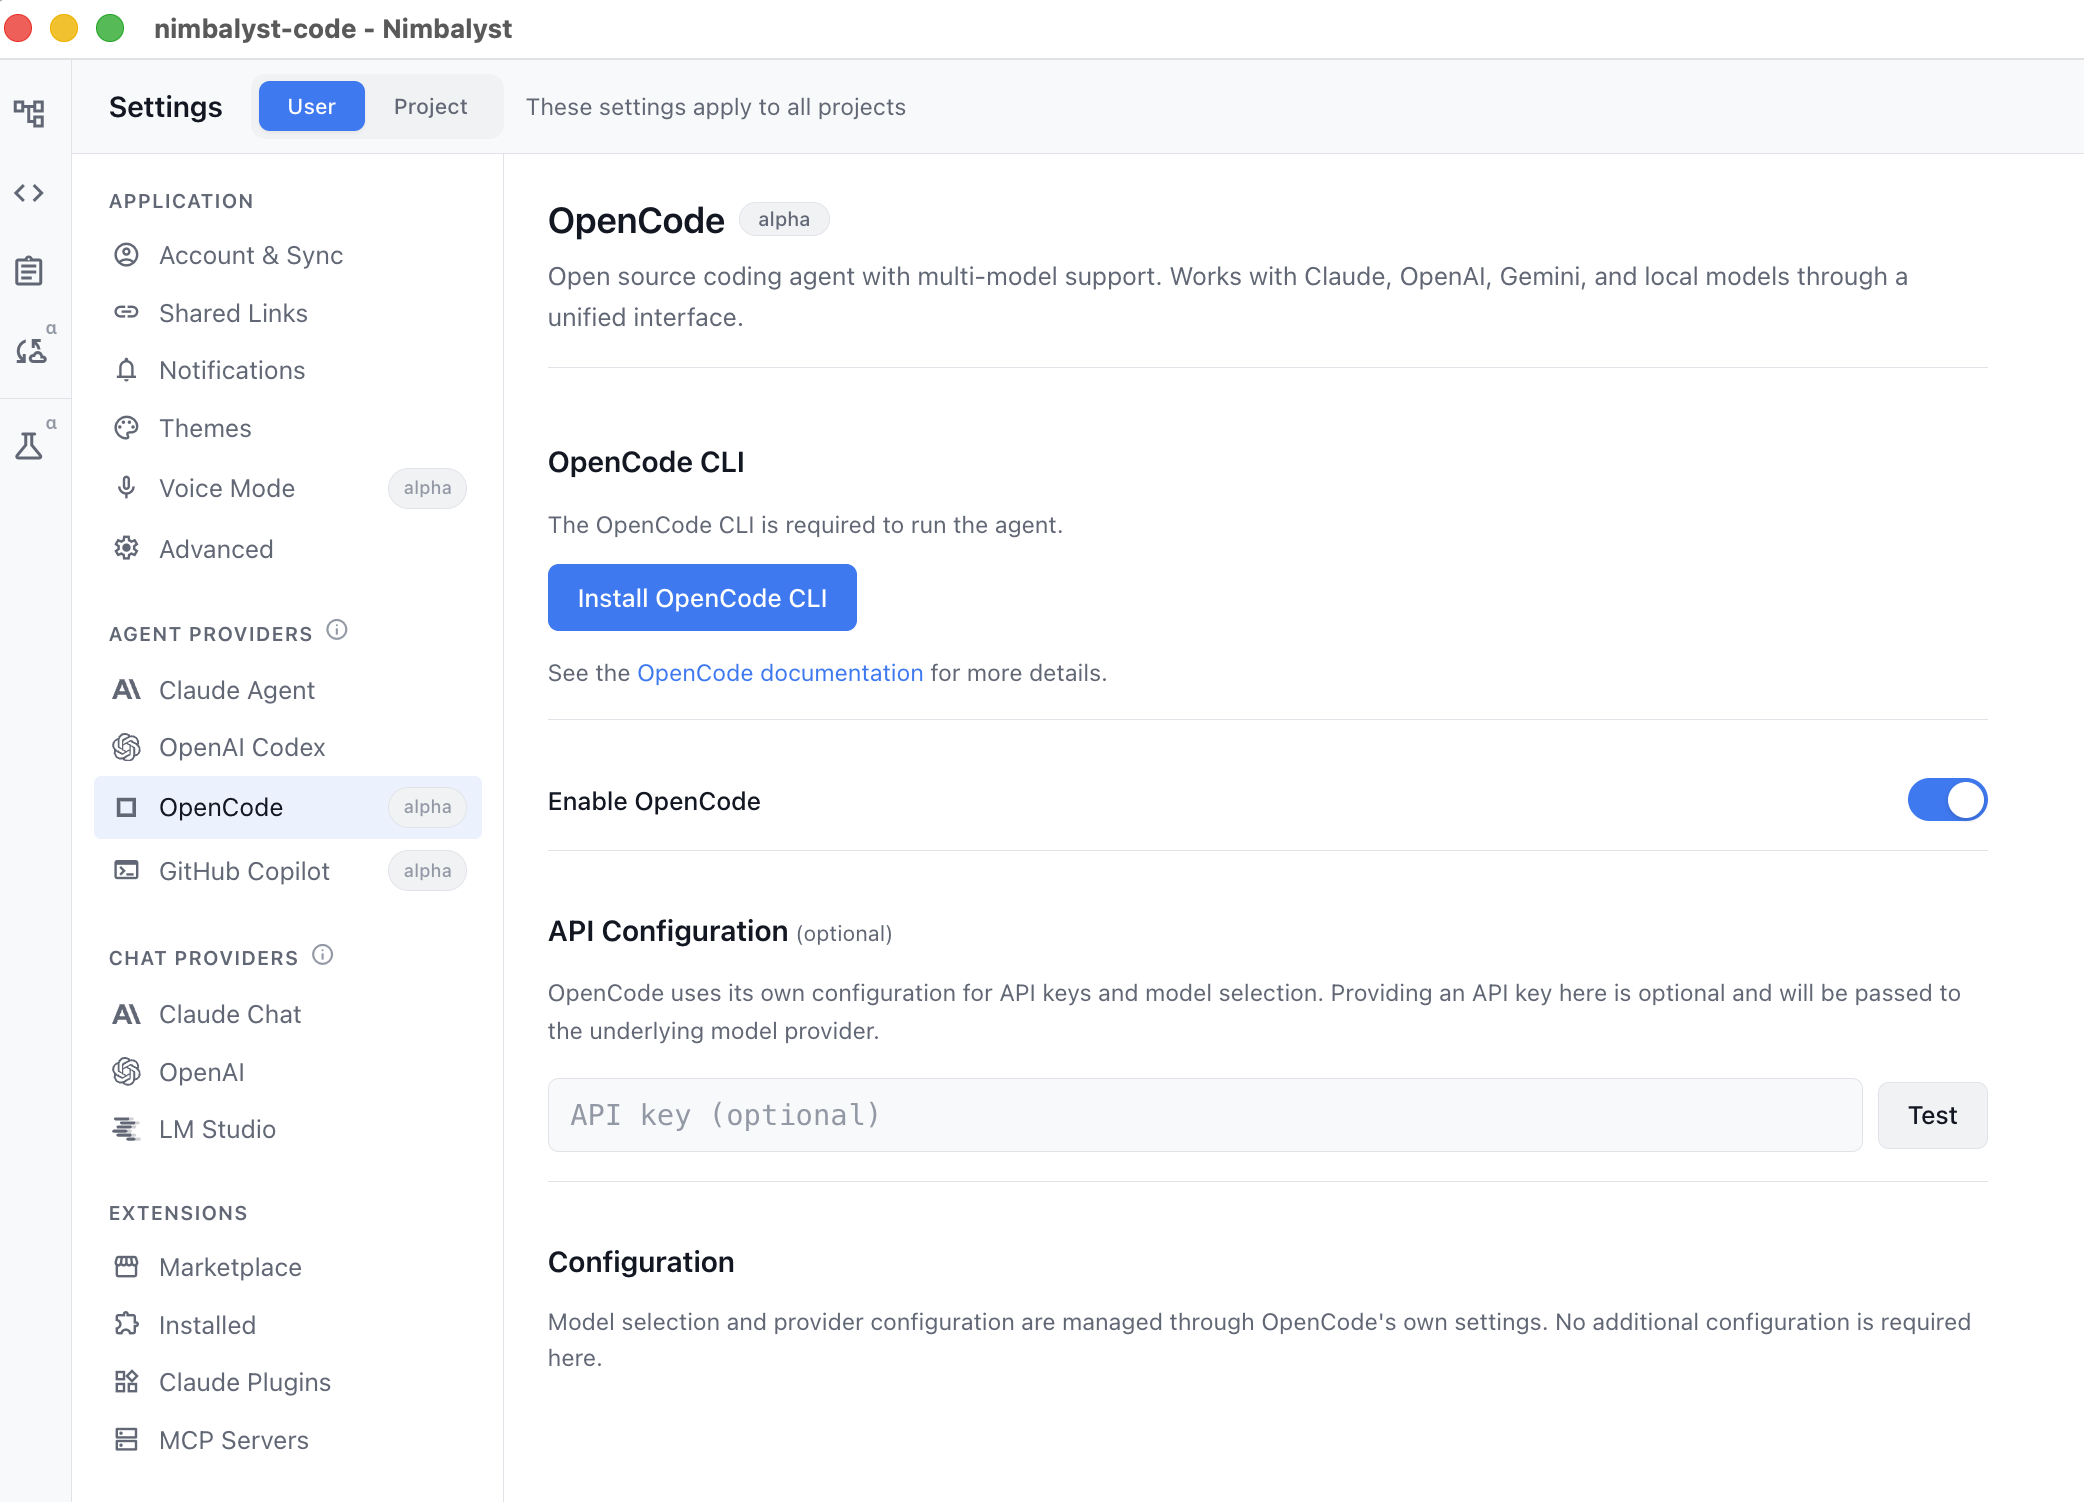
OpenCode is an open-source coding agent with multi-model support. It works with Claude, OpenAI, Gemini, and local models through a unified interface.

To set it up, open **Settings > Application > OpenCode**:

1. Install the OpenCode CLI (use the **Install OpenCode CLI** button or follow the OpenCode docs).
2. Toggle **Enable OpenCode** on.
3. Configure and authenticate model providers in OpenCode's own settings. The optional API key field in Nimbalyst is used only to test the connection; it does not replace OpenCode's provider configuration.

<figure><img src="https://562749618-files.gitbook.io/~/files/v0/b/gitbook-x-prod.appspot.com/o/spaces%2FiVUeHZHlFlZrZt02syRC%2Fuploads%2Fgit-blob-0ba1cca7b27772651d78b48173252aedbdc69dbf%2FOpenCode%20Settings.png?alt=media" alt="The OpenCode settings panel"><figcaption><p>OpenCode agent provider settings</p></figcaption></figure>

### GitHub Copilot (Alpha)

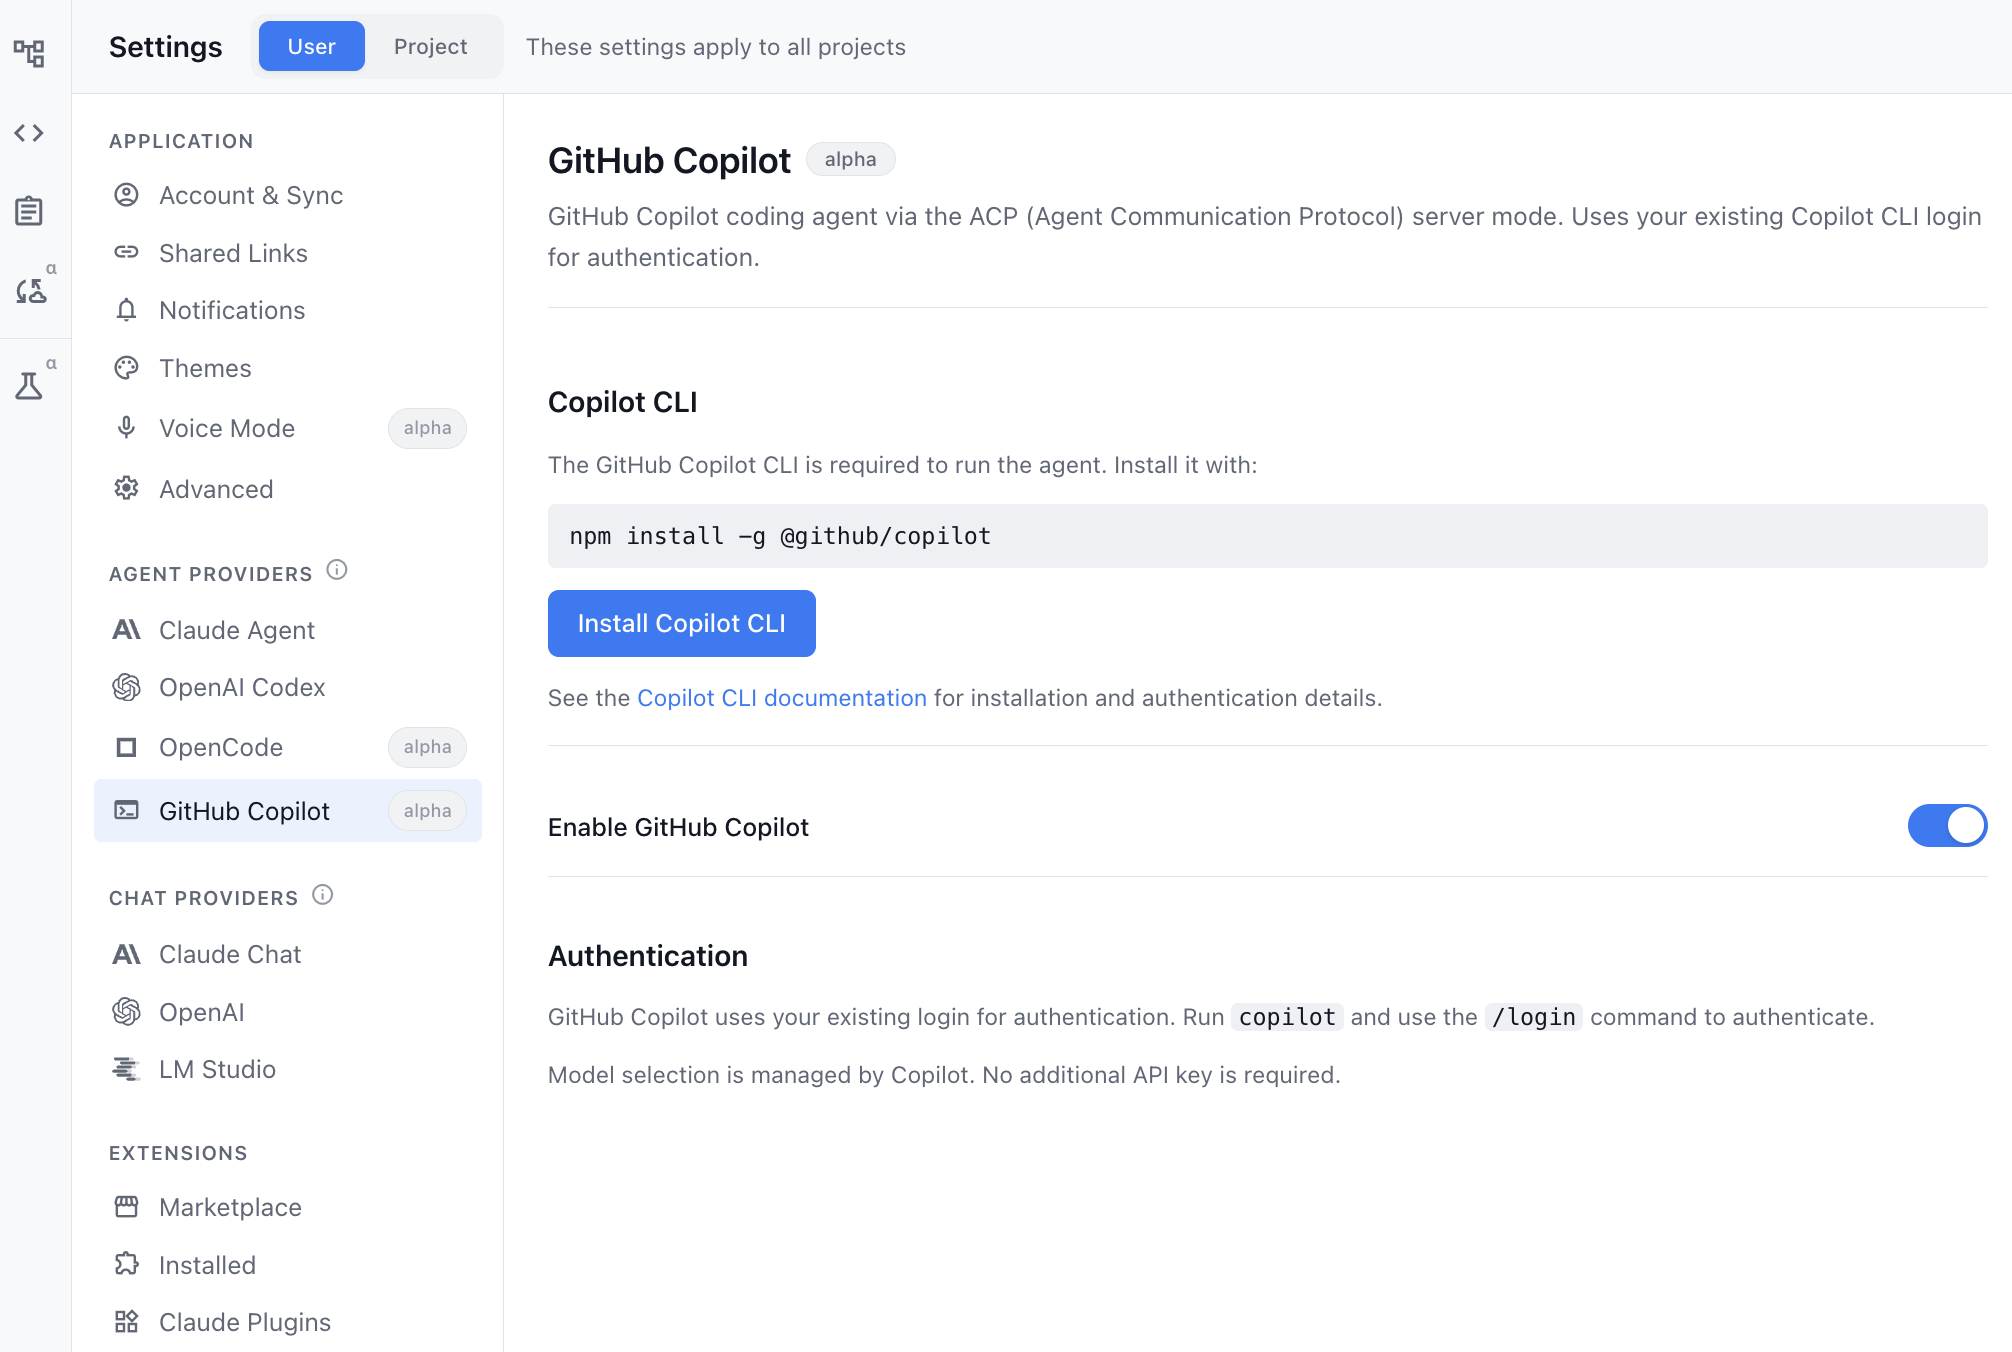
GitHub Copilot is supported as a coding agent via the ACP (Agent Communication Protocol) server mode. It uses your existing Copilot CLI login for authentication.

To set it up, open **Settings > Application > GitHub Copilot**:

1. Install the Copilot CLI (`npm install -g @github/copilot`, or use the **Install Copilot CLI** button).
2. Toggle **Enable GitHub Copilot** on.
3. Authenticate by running `copilot` and using the `/login` command. Model selection is managed by Copilot, so no additional API key is required.

<figure><img src="https://562749618-files.gitbook.io/~/files/v0/b/gitbook-x-prod.appspot.com/o/spaces%2FiVUeHZHlFlZrZt02syRC%2Fuploads%2Fgit-blob-ad2b440697d3048d490120713d35f55cc1ec5585%2FGitHub%20Copilot%20Settings.png?alt=media" alt="The GitHub Copilot settings panel"><figcaption><p>GitHub Copilot agent provider settings</p></figcaption></figure>

### Grok Build (Alpha)

Grok Build is xAI's coding agent. Enable it under **Settings > Application > Grok Build**.

Grok Build sessions can answer questions and approve tool use while they run, reach your Nimbalyst tools, and use the model you picked.

### Cursor Agent (Alpha)

Cursor Agent runs the Cursor coding agent headlessly against your project. Install the Cursor CLI, run `cursor-agent login`, then enable it under **Settings > Application > Cursor Agent**. It uses your existing Cursor CLI login.

### Gemini through Antigravity (Alpha)

Gemini uses the language server bundled with Google's Antigravity desktop app. Install Antigravity and sign in once, then open **Settings > Application > Gemini**. Antigravity does not need to remain open while the agent runs.

### Integrate other AI Models with Nimbalyst (optional)

* Nimbalyst can integrate with Anthropic, OpenAI, or LM Studio for local models.
* Add an API key in Nimbalyst for Anthropic or OpenAI. Nimbalyst never reads those keys from environment variables.
* As these are not coding agents, only some features are supported.
* For LM Studio, run its local server and enter the server URL; it does not require an API key.
* Return to **Settings > Application** to change the configuration later.

Provider API keys you save in Nimbalyst are encrypted on disk.

### Notification that AI response is complete

Open **Settings > Application > Notifications**.

<div align="left"><figure><img src="https://562749618-files.gitbook.io/~/files/v0/b/gitbook-x-prod.appspot.com/o/spaces%2FiVUeHZHlFlZrZt02syRC%2Fuploads%2FSOFYBrlawEyz85s7TCzw%2Fimage.png?alt=media&amp;token=81960173-b33d-4f8e-9aef-b2941f2bbbd2" alt="The Notifications settings panel with Completion Sounds and OS Notifications sections" width="563"><figcaption><p>The Notifications panel: completion sounds with a sound type picker and Test Sound, plus OS notifications.</p></figcaption></figure></div>

By default:

* You are notified when an AI session completes.
* When Nimbalyst is not the active window, a system notification can appear. Clicking it takes you to the workspace and session that needs attention.
* Agents can also request an attention notification during a longer workflow.

Use the Notifications page to control these behaviors.

### Completion Sounds

Nimbalyst can also play a sound when the AI or an agent finishes a turn and is ready for you again. Find it under **Settings > Application > Notifications > Completion Sounds**.

* Turn it on with **Enable Completion Sounds**.
* Pick a built-in **Sound Type** (chime, bell, or pop), or choose **custom** to use your own audio file.
* For a custom sound, click **Choose File** and pick an audio file. Supported formats are MP3, WAV, OGG, M4A, AAC, and FLAC.
* Adjust the **Volume**, and use **Test Sound** to hear your choice.


---

# Agent Instructions
This documentation is published with GitBook. GitBook is the documentation platform designed so that both humans and AI agents can read, navigate, and reason over technical content effectively. Learn more at gitbook.com.

## Querying This Documentation
If you need additional information that is not directly available in this page, you can query the documentation dynamically by asking a question.

Perform an HTTP GET request on the current page URL with the `ask` query parameter, and the optional `goal` query parameter:

```
GET https://docs.nimbalyst.com/setup-nimbalyst/ai-provider-setup-and-notifications.md?ask=<question>&goal=<endgoal>
```

`ask` is the immediate question: it should be specific, self-contained, and written in natural language.
`goal` is optional and describes the broader end goal you are ultimately trying to accomplish on behalf of the user. GitBook uses it to tailor the answer towards what is most useful for that goal.

The response will contain a direct answer to the question and relevant excerpts and sources from the documentation.

Use this mechanism when the answer is not explicitly present in the current page, you need clarification or additional context, or you want to retrieve related documentation sections.